New to the Command Line?
Ionic relies on the power of many command-line-interface tools (CLI) to start, build, test, and deploy Ionic apps.
Unlike traditional desktop applications, CLI tools are small programs that perform various tasks in a way that makes them easy to use together, all without the complexities of having to build visual desktop apps for each program.
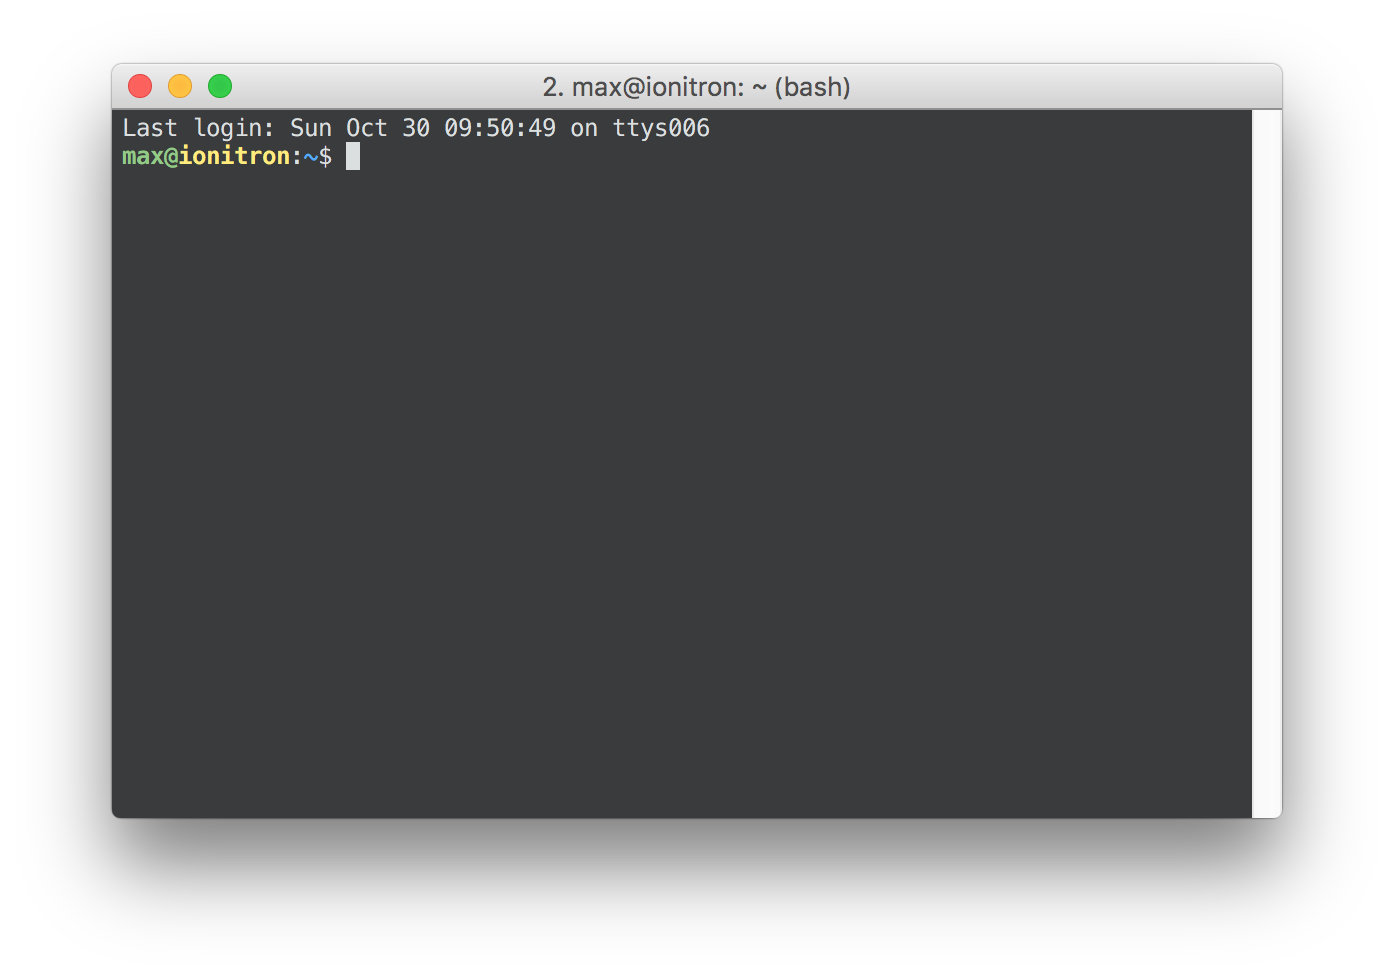
To use CLI tools, we need to use a Terminal. A Terminal lets us run CLI tools by typing commands, and is a popular way developers build web and mobile apps today. A terminal looks like this (yours might look different):
Windows, Linux, and Mac all have different ways to use the terminal. Let’s start with Mac
Mac
For Mac, we have a nice terminal installed by default called terminal. If we search in spotlight for terminal it will pop up:
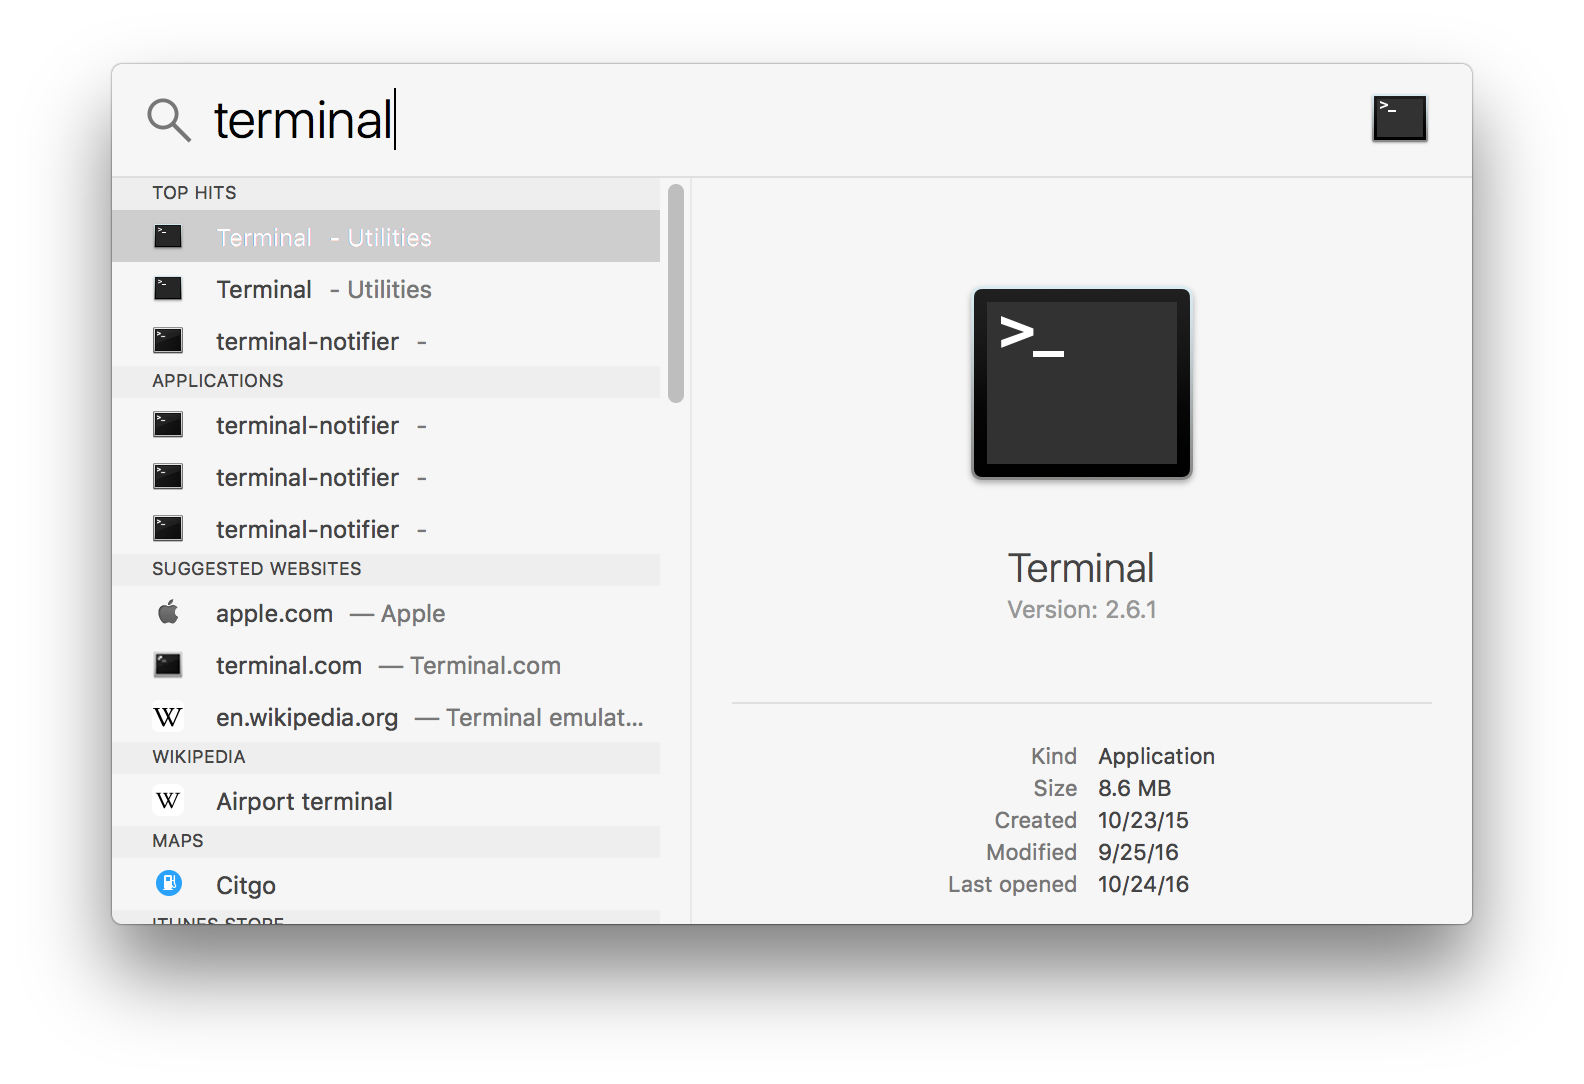
Alternatively, we can find it in the Utilities folder in our Applications list.
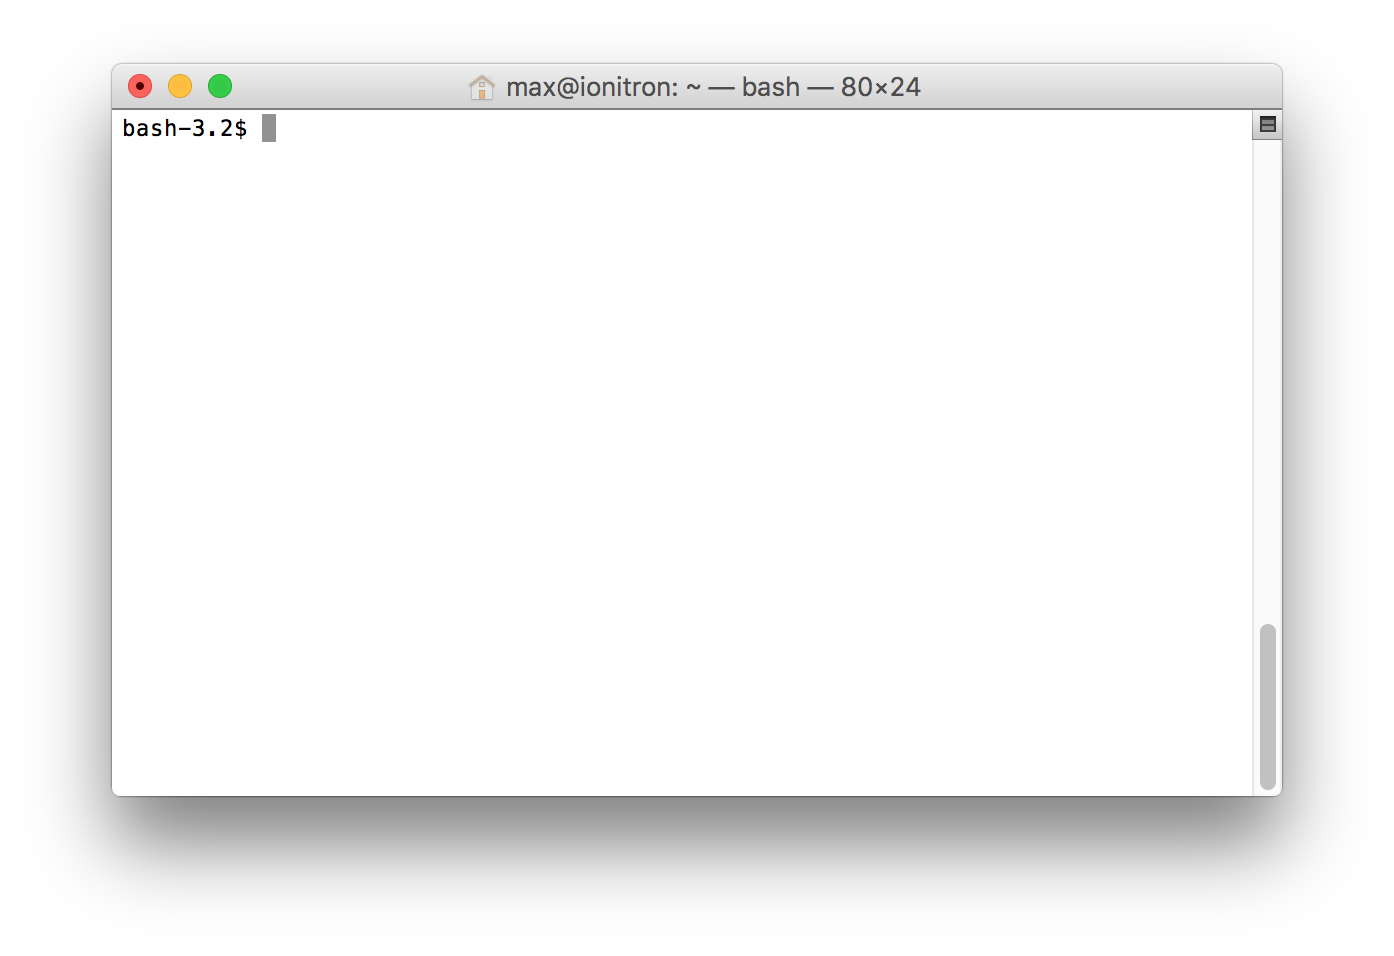
When we open it, we should see something like this:
We can continue using this default terminal, though many Mac users choose to use a 3rd party terminal tool with more features, iTerm 2 being the most popular.
Windows
Windows has a few different terminal tools available by default, including two you may be familiar with: cmd.exe and PowerShell. We don’t recommend either for Ionic development or for modern web and mobile development because they don’t have many common utilities available that developers use.
Instead, we strongly recommend installing Git for Windows which comes with Git Bash, a prompt that is more compatible with the terminal experience on Mac and Linux.
After installing Git Bash and running it, you’ll see a prompt like this:

Linux
You’re running Linux, you should know how to launch your Terminal ?
Tip #1: The Prompt
On our example terminals above, we see the text bash-3.2$ and something similar on the Windows side, both having a $ and our cursor positioned to the right of it.
This is the command prompt, and it’s “prompting” us to enter a command. The dollar sign is a very common prompt character, and you’ll occasionally see it written in commands to give you context and to indicate this command should be run in a terminal. You should not write the dollar sign character when typing your commands, it will make your command not work.
Tip #2: Basic commands
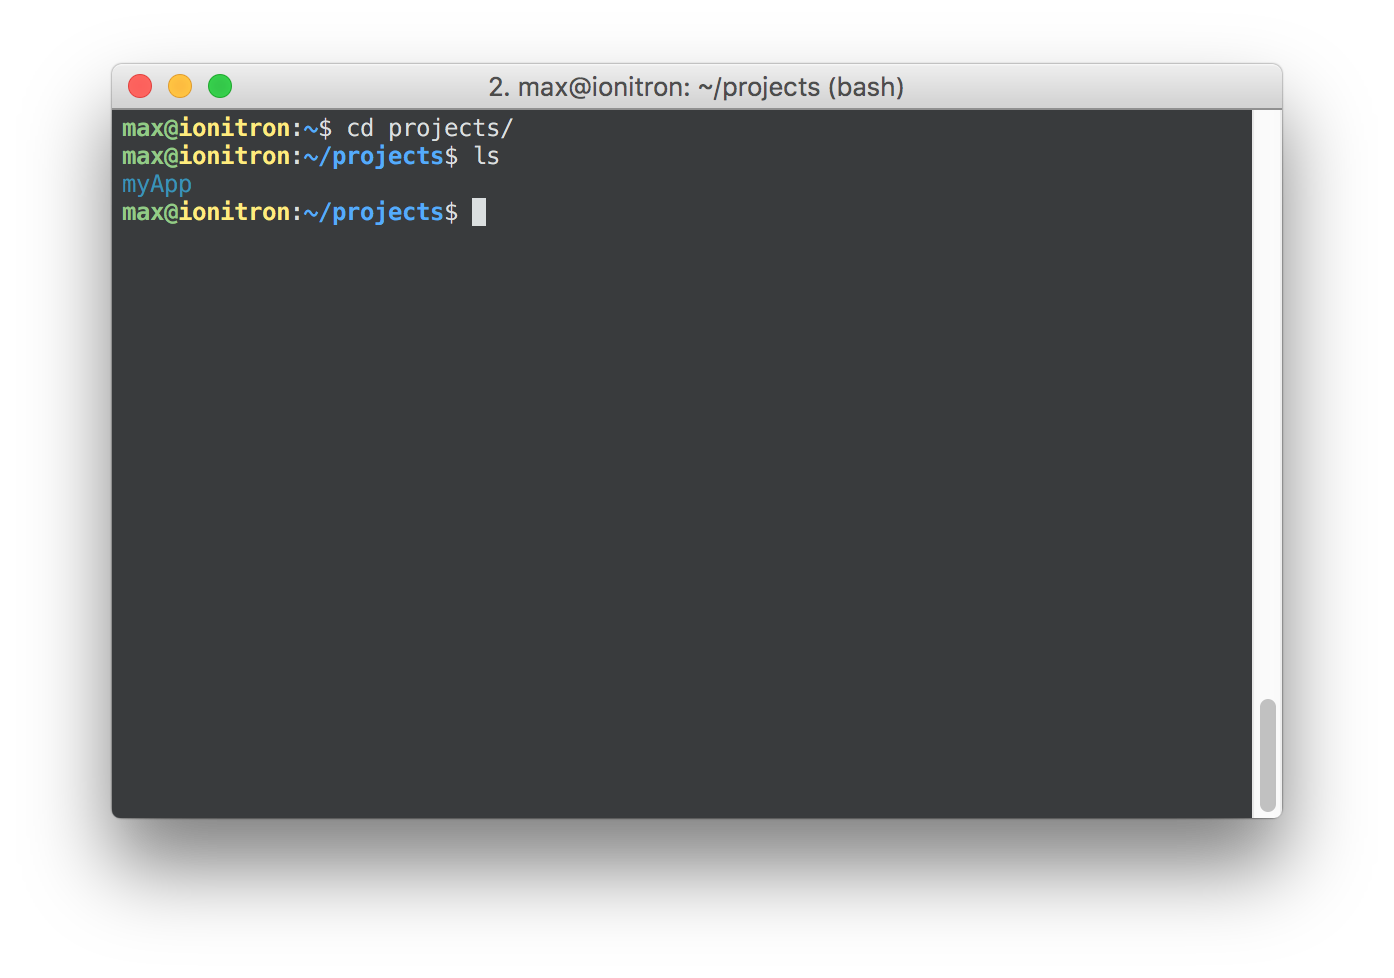
There are a few core commands that you will want to learn that are often implied by tutorials. The first, and arguably most important, is cd. cd lets you “change directory” and is equivalent to navigating into folders in Finder or Explorer.
The second is ls and “lists” the contents of the directory you are in. This becomes a common sequence Terminal users perform: cd theDirectory and then immediately ls to list the contents and give you context for where you are.
ls takes some additional flags to customize the output, and a common one is ls -l to show a nice tabular list of the contents of your directory.
So, when we say cd into a directory, that means you’ll type cd theDirectory.
Tip #3: More commands
There are many commands available, and we recommend learning to use at least these other commands: mkdir to create directories, cp to copy files, mv to move and rename files, rm to remove files, and less to open files in a scrolling window for previewing. Try each one to learn how to use it.
Tip #4: sudo
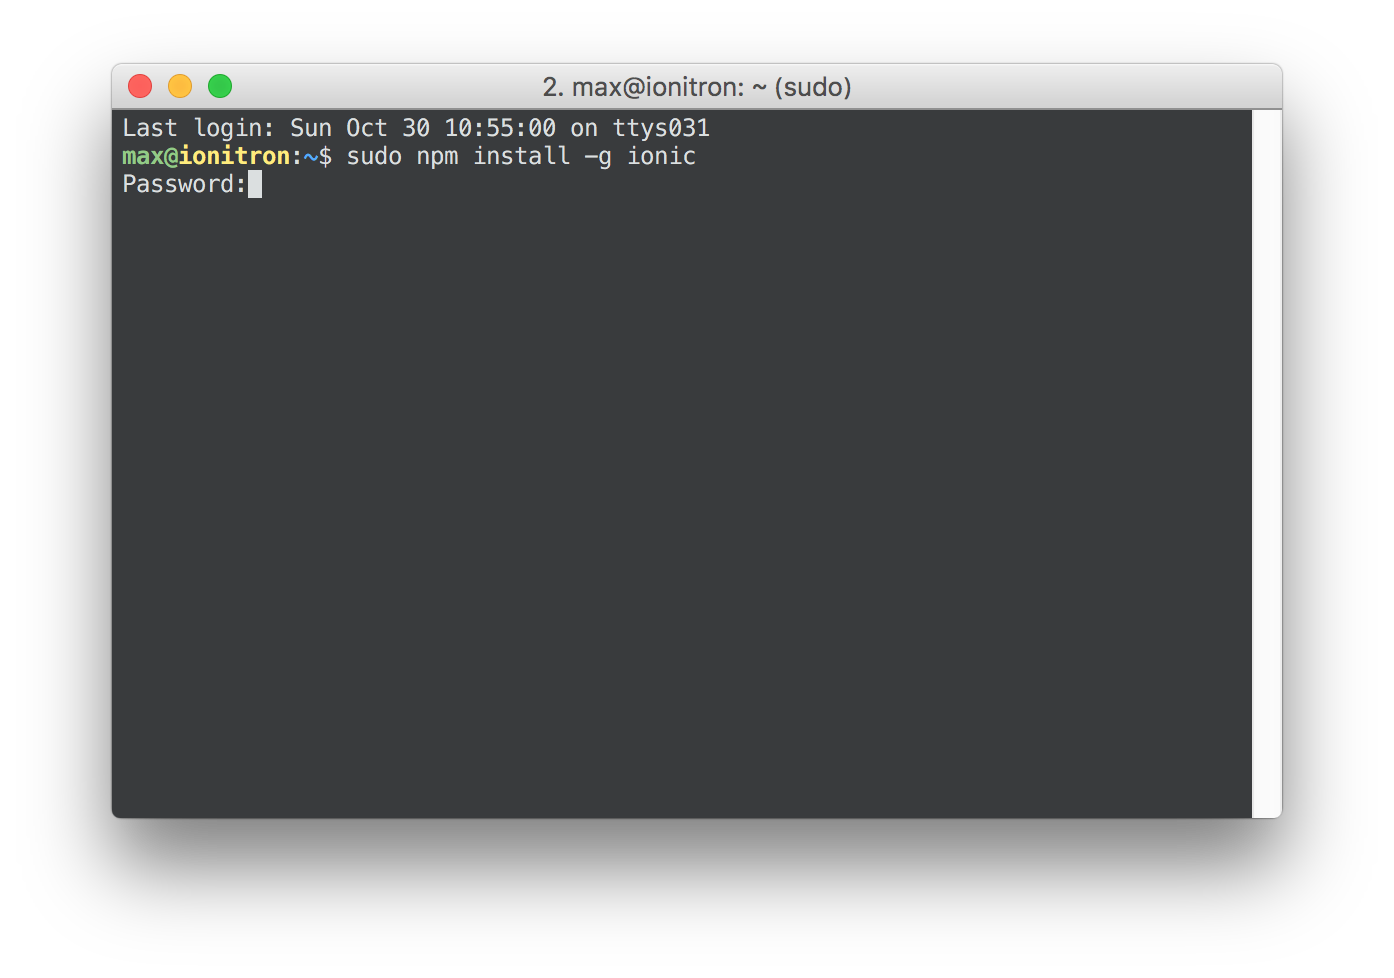
Sometimes, a command we want to run requires administrator privileges to modify sensitive files on our computer. On Linux and Mac, we can use the sudo command before the command we want to run, which will prompt us for our administrator password before running the command. For example, here’s how we install Ionic globally (meaning for all users) on Mac and Linux:
sudo npm install -g ionic
Often times, sudo will be left out of commands printed in tutorials and guides because it’s one of those tricks you need to know if you use the Terminal on Linux and Mac yet not required for Windows so it’s not technically correct to have it printed.
You need to know that certain commands are going to require elevated permissions, and sometimes the only way to learn is through trial and error. Ionic needs to be installed globally so that it can become a command the terminal knows about, so on Mac and Linux we need to include sudo.
Tip #5: NPM
NPM is a popular command line tool for installing libraries from the Node.js ecosystem. Ionic uses it extensively and you’ll see it printed in our getting started guide.
After installing Node.js on our machine, the npm command will be available in our terminal. To install new packages, run npm install and then the name of the package. As mentioned in the “sudo” section above, if we need to install new commands globally (or, for “all users”), then we need to add sudo before the command on Mac and Linux (it’s not required on Windows), and then use the -g flag.
Tip #6: Flags, arguments
When you see the word “flags” or “arguments” for commands, that means adding text to your prompt to make the command run differently. For example, npm install -g ionic tells npm that we want to install Ionic globally.
A “flag” is commonly a sequence with a dash and a character or two dashes and a word, and can often be used interchangeably. That means we can write npm install -g or npm install --global and the behavior is identical.
“arguments” are just additional data we send to the command. For exmaple, if npm is the command, then install and ionic are arguments to the command.
Any questions?
We realized that many developers new to Ionic didn’t have extensive Terminal experience, so we hope this tutorial helps you better understand how to use the terminal and interact with Ionic.
Any questions about anything above? Please let us know by leaving a comment below.